Using the Stable Diffusion WebUi
Why Stable Diffusion?
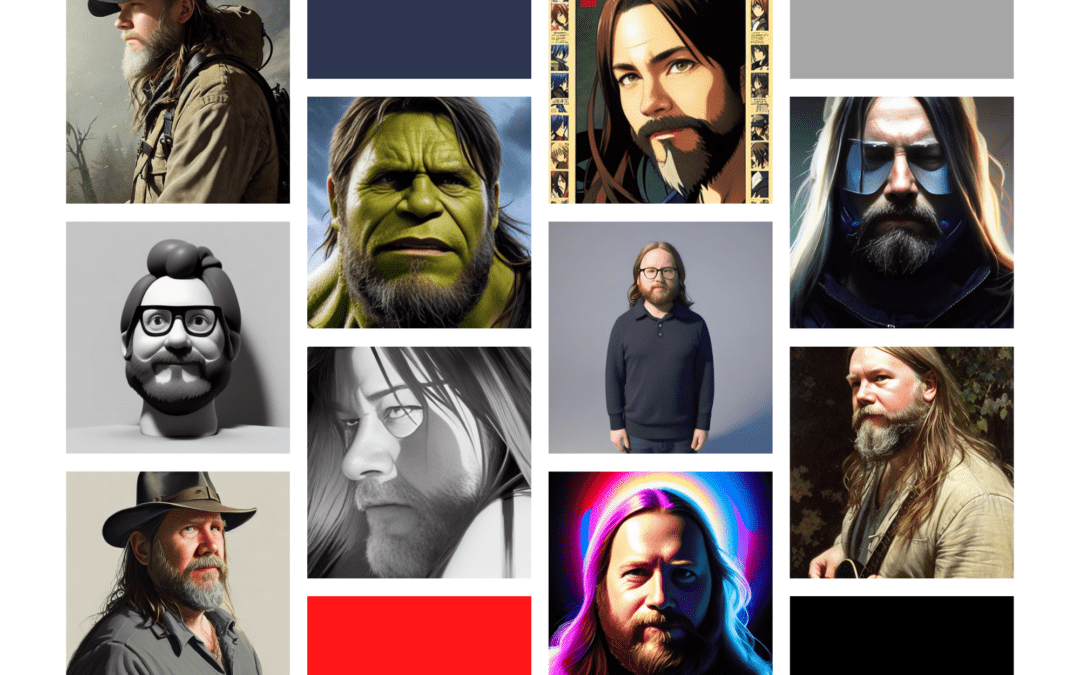
Recently I wrote an article for my employer allcode.com on how to set up Stable Diffusion and use Dreambooth to train models based on your own images to personalise the outputs, thus allowing you to create artistic renditions of yourself with various prompts.
The critical element is that it can run on a local gaming PC (although you do have to train the models on a pay-on-demand server). I highly recommend you read that article if you are interested in how to set up the various systems.
A long, long time ago, I used to love art; painting, drawing, and sculpting were really enjoyable for me. But sadly, over the years, I’ve let the meagre skills I had atrophy and now trying to return to square one is just disheartening.
So I’m finding this fusion between coding, AI, writing and art really fascinating. I see a lot of artists complaining about AI art (and with good reason). I’m definitely finding people selling AI art really dubious and troubling. That said, it’s here, it’s not going away, and as I’ll show throughout these blog posts, it is not so easy. I can see it being a great tool for artists and a problem in years to come.

What’s the plan
Over a series of posts, I’m going to write up what all the parts of the Stable Diffusion WebUI interface do, what they mean and how they relate back to things like Dreambooth and training your own models. I’ll include a little about configs for training models and probably show how changes to the training affected the outputs.
What won’t be covered
I’m not going to explain all the various installs, libraries, variations and forks of Stable Diffusion, nor am I going to compare the outputs to other AI art creators like Midsummer etc. I’m also not going to answer questions on how to resolve code breakages that happen, unless I happen to experience one while writing.
Maybe when I’ve finished playing with Stable Diffusion, I’ll look at others in the future.

The WebUI homepage
Today I’ve set the scene for what I hope to create so for now I’m just going to give a high overview of the various tabs and what they do.
Holy sh*t, there are a lot of options here
If you’ve followed my tutorial at allcode.com, you’ve already installed Stable Diffusion, run your personalised images through Dreambooth and are ready to get down to business. The first thing you see when you open the WebUI is a lot of options that aside from the prompt option will make little sense. Not to even mention that this is tab 1 of 8.

txt2img
This is probably the most recognizable tab, as it is the key point of popularity for the Stable Diffusion craze. It’s where you type in prompts (both negative and positive) and generate images. On a default install of Stable Diffusion you can still get access to the massive wealth of information on artists, celebrities and politicians when creating these prompts. However, do remember to complete the Dreambooth training if you want to personalise any generated images.
img2img
Image to image AI art generation (img2img) uses the same principle as that of txt2img above. Users still enter in prompts for the AI. The main difference between these two is that a base image is included into the scenario
Users upload a base photo where the AI applies changes based on entered prompts. Continuous iteration of this process creates refined and sophisticated art.
Extras
In this section you have the ability to upscale your produced images to bigger sizes, all sizes are usually produced as 512×512 and other tools to improve the on images that you like but feel need work.
- GFPGAN, neural network that fixes faces
- CodeFormer, face restoration tool as an alternative to GFPGAN
- RealESRGAN, neural network upscaler
- ESRGAN, neural network upscaler with a lot of third party models
- SwinIR and Swin2SR neural network upscalers
- LDSR, Latent diffusion super resolution upscaling
PNG info
If you have an image generated by Simple-Diffusion it should includes all the details of the prompt, negative prompts, seed, model and other information used to generate it. So rather than trying to rememver a prompt that you liked you can find the produced image and drag-and-drop the image onto the PNG info tab you will recover all the info and then send it to other areas of the WebUI
Checkpoint Merger
Combine and blend different checkpoints and models.
Train
If you have a monster of a machine with 24Gb of VRAM on your GPU you can train your models locally, normally trying will just make the system crash and laugh at you. If you want you there is a “Dreambooth extension” which can be found in the Extensions tab described below which can help lower powered systems train but otherwise you’re better off training models on a service like https://www.runpod.io/ until either the systems get smarter (less GPU required) or the graphics cards get cheaper.
Settings
The settings tab for Stable Diffusion WebUI allows you to customize the various options and preferences. The options and preferences available include things like the color scheme, where output images are stored, and the way that the program interacts with other programs or devices. In general, the settings tab is where you can fine-tune the way that the Stable Diffusion WebUI works to suit your needs and preferences.
Extensions
An extension is a small software program that can be installed in the Stable-Diffusion WebUI to add or modify the functionality. Extensions can be used to add features to the WebUI, such as a new tab, or to modify the behavior of Stable Diffusion, such as reducing the load for Dreambooth or blocking certain websites. Extensions can be installed and updated from this tab, and once installed, they can be turned on or off as required.